Why Storms Cause 300% More Tree Fungal Infections
Recent mega storms in 2025 have led to a 300 percent rise in fungal tree infections, as noted by arborists, endangering trees and properties alike. This resource uncovers the environmental triggers, diagnostic cues, expense breakdowns, and proven safeguards to revive and secure your trees' vitality.
Soil Batteries Cut Tree Watering Costs in Half
Soil batteries innovate irrigation by converting soil energy to fuel intelligent systems. These durable units track moisture levels, potentially lowering tree watering costs by 50 percent by 2026. Offering low upkeep and adaptable scalability, they deliver thriving trees, reduced expenses, and eco-friendly grounds.
Soil Testing Reveals Hidden Lawn Health Secrets
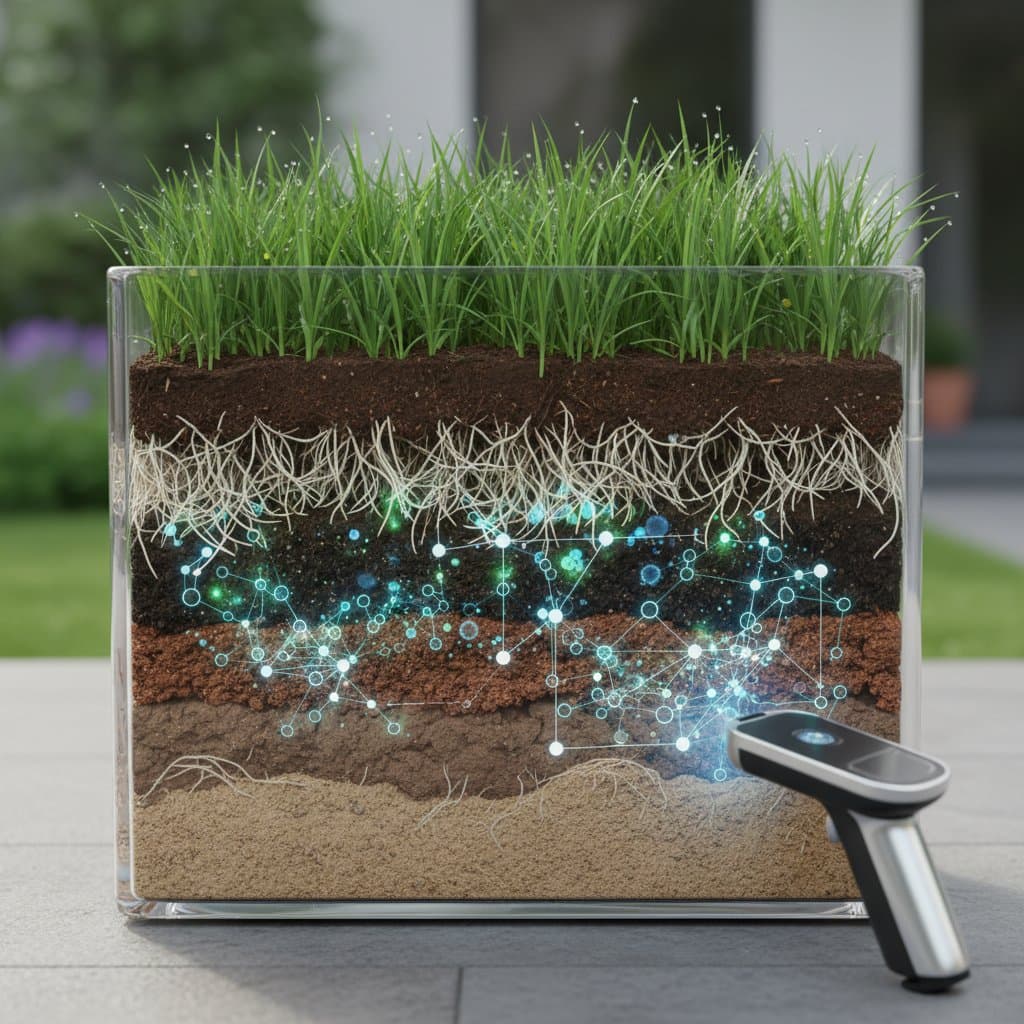
Soil microbiome testing revolutionizes lawn care by exposing the vital microbial world underfoot. This guide covers testing types, costs, DIY steps, and practical tips to achieve lush, sustainable grass with minimal chemicals.
Stump Grinding That Enriches Your Soil with Biochar
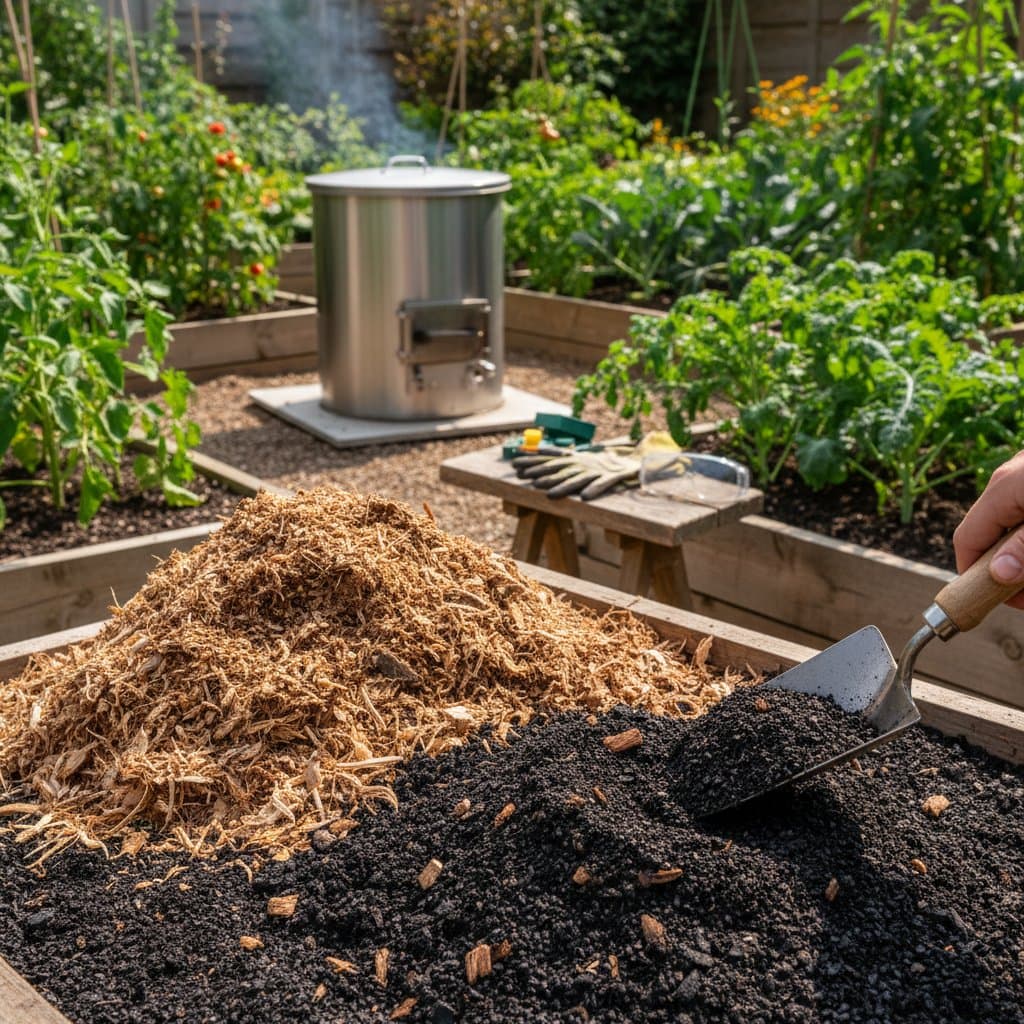
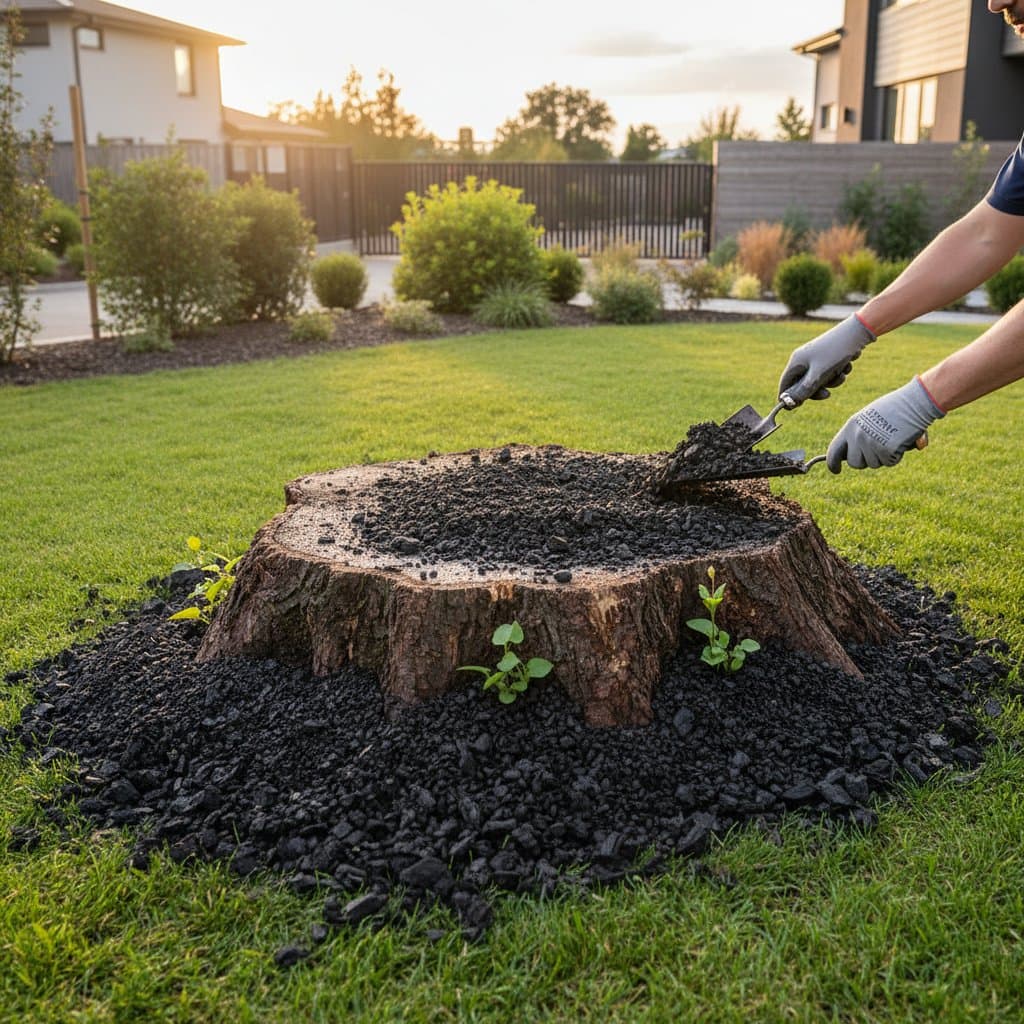
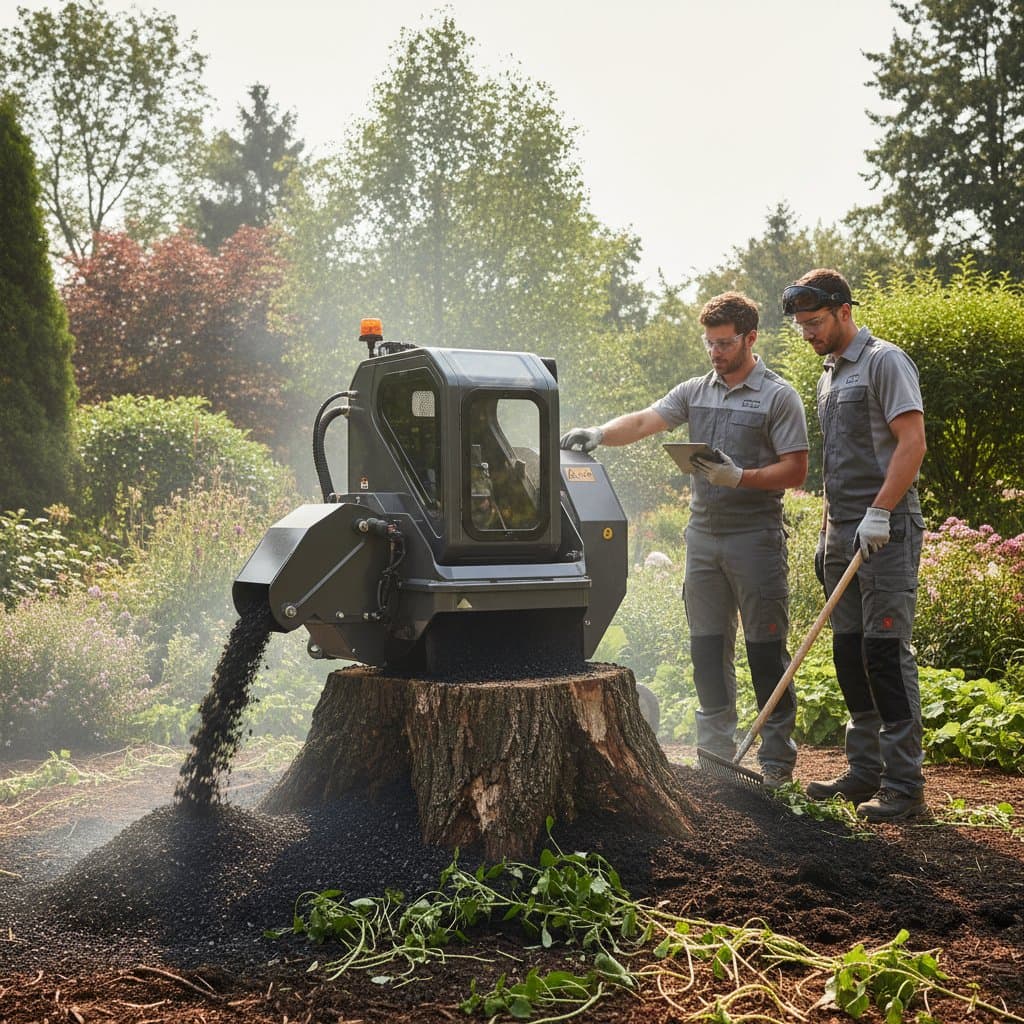
Convert stump removal into a soil enhancement strategy through biochar stump grinding. This method processes wood into carbon-rich biochar that boosts soil fertility, retains moisture, and sequesters carbon. Discover professional approaches, pricing details, and integration steps for a sustainable yard upgrade.
Tech Detects Root Rot Early and Saves Dying Trees
Innovative tools revolutionize the battle against mushroom root rot, enabling early diagnosis through imaging and DNA tests. Eco-friendly treatments restore infected trees, preventing landscape devastation and promoting sustainable health.
Hardy Trees That Outlast the Ash Borer Crisis
With emerald ash borer decimating trees nationwide, discover resilient alternatives like oaks, elms, and maples. This guide provides selection factors, care essentials, and professional advice to restore shade, ecology, and property appeal.
Edible Landscaping Delivers 85% ROI as Food Prices Soar
With escalating food costs, edible landscaping gains popularity among homeowners seeking multifunctional yards. These designs fuse aesthetics with agriculture through fruit trees, herbs, and veggies, yielding savings, eco-benefits, and an 85% ROI.
How Fungal Networks Help Trees Share Nutrients and Survive
Beneath thriving trees hides a vital partner: mycelium networks. These fungal threads form nature's underground internet, aiding nutrient sharing, water access, and pest warnings. Learn to nurture these connections for healthier urban, backyard, and forest ecosystems that adapt and prosper collectively.
More Articles
Bio-Fungicides Cut Oak Wilt Treatment Costs in Half
Bio-fungicides transform oak wilt management by reducing treatment costs by 50 percent and safeguarding trees without harsh chemicals. Beneficial microbes deliver eco-friendly defense that endures in soil, minimizing environmental impact. This guide explains their mechanisms, cost influences, and the importance of expert application for optimal results.
Biochar Cuts Tree Stump Decay Time in Half
Biochar, a potent carbon amendment, slashes stump decay and regrowth timelines by nearly 50 percent. This guide covers its superiority to chemicals and grinding, microbial enhancement benefits, soil restoration advantages, biochar selections, usage protocols, and specialist advice for efficient, sustainable yard transformation.
New Tech Catches Root Rot Before Trees Show Symptoms
Root rot undermines trees invisibly from below, yet 2026 technologies like DNA analysis, radar mapping, spore sensors, and thermal scans enable pre-symptomatic detection. Arborists apply these for swift responses that preserve health, curb spread, and safeguard properties from decline.
Turn Tree Stumps into $500+ Biochar for Big Profits
Repurpose tree stumps into biochar exceeding $500 in value per batch. Explore methods to create this sustainable soil amendment from waste wood, including DIY setups, professional tips, costs, and sales approaches for a viable side business.
Ash Tree Vaccine Cuts Removal Costs 60% for Homeowners
An innovative ash tree vaccine reduces removal costs by up to 60 percent by shielding trees from emerald ash borer damage. This injectable solution provides long-term protection, minimizes disruption, and helps maintain property value through preserved landscapes. Professional application ensures optimal results for sustained tree health.


