
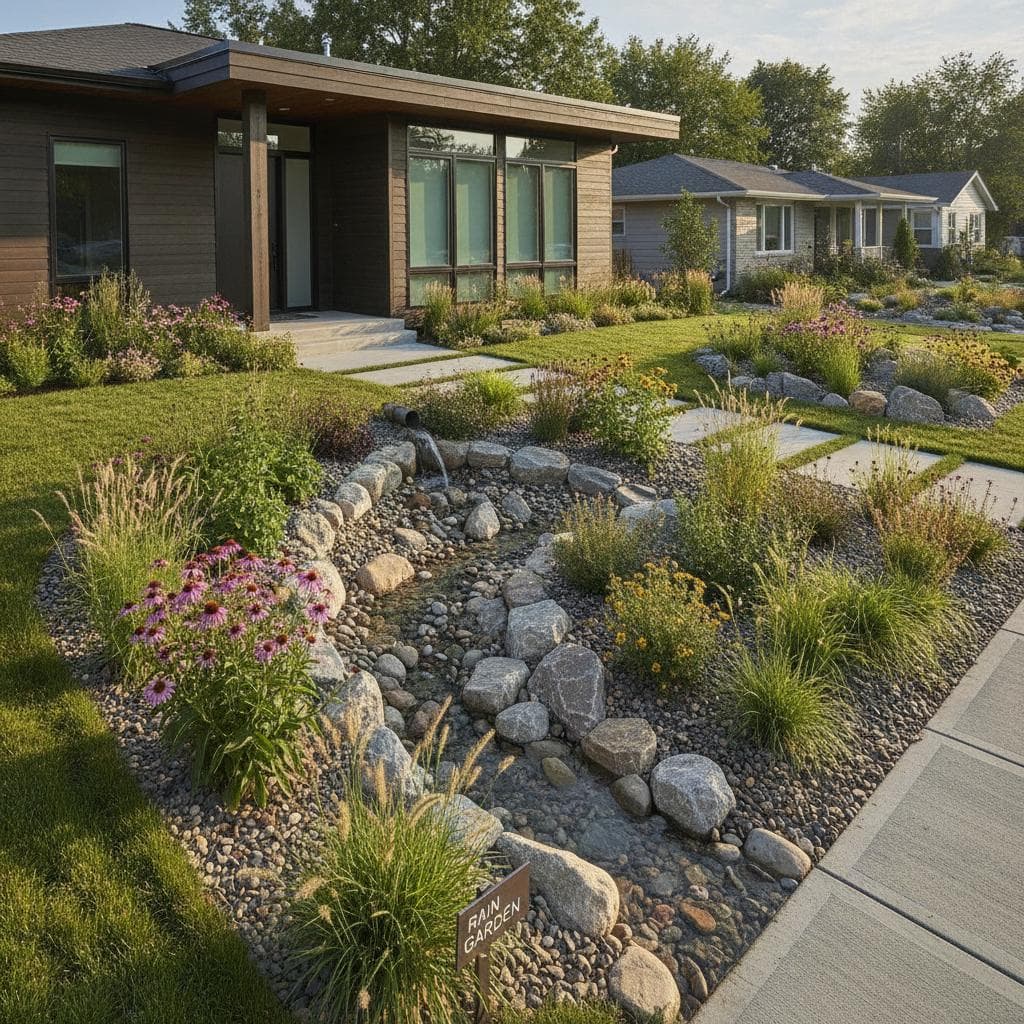
Understanding New Rain Garden Requirements
Eight U.S. cities have introduced regulations that make rain gardens mandatory for certain residential and commercial properties. These rules support natural stormwater management and reduce pressure on municipal drainage systems. Homeowners and property managers must now understand how to design and install compliant rain gardens.
This guide covers the updated requirements. It explains costs, design options, and installation steps that align with local codes.
Rain Garden Cost
National Average Cost
The average cost to install a rain garden ranges from 800 to 5000 dollars. The final amount depends on size, soil conditions, and plant choices. Small do it yourself projects remain affordable. Larger engineered systems that satisfy city rules often reach the higher end of this range.
Cost by Project Size or Type
- Small Residential Rain Garden (under 150 square feet): 800 to 1500 dollars when built with basic tools and native plants.
- Medium Garden (150 to 300 square feet): 1500 to 3000 dollars because of added materials and excavation depth.
- Large or Commercial System (over 300 square feet): 3000 to 5000 dollars or more when professional grading and overflow structures are required.
Key Cost Factors
Soil condition and drainage affect price. Poor drainage or heavy clay may require soil replacement. Plant selection also matters. Native plants cost less and need less care. Ornamental species increase expenses. Site access, permits, and finishing materials such as mulch and edging further influence the total.
Types of Rain Gardens
Native Plant Basin
This design uses hardy native species that match local rainfall and soil. The basin collects runoff and filters it through deep roots that tolerate wet and dry periods.
Pros:
- Low maintenance once plants establish
- Strong support for wildlife and pollinators
- Reliable infiltration performance
Cons:
- Seasonal appearance can appear less formal
- Early weeding and watering are needed until maturity
Engineered Rain Garden
These systems layer sand, compost, and gravel to improve infiltration in poor soils. Cities often require them for compliance in dense urban zones.
Pros:
- Manages large runoff volumes
- Satisfies strict stormwater standards
- Integrates with existing drainage
Cons:
- Higher cost and need for professional design
- Installation disrupts current landscaping
Decorative Rain Garden
This option combines function with visual appeal through ornamental grasses, flowering perennials, and stone accents.
Pros:
- Improves curb appeal
- Adapts to many architectural styles
- Supports property value
Cons:
- Requires more upkeep to maintain appearance
- Some decorative plants tolerate flooding less effectively
DIY versus Professional Installation
Homeowners can complete small projects themselves. Larger or code driven work benefits from professional help.
DIY Benefits:
- Lower initial cost
- Personal satisfaction from the work
- Ability to refine the design over time
DIY Challenges:
- Requires accurate knowledge of drainage and soil tests
- Errors may produce standing water or failed inspections
- Results may not satisfy local code
Professional Installation Benefits:
- Expert assessment of size and placement
- Full compliance documentation
- Faster completion with warranty protection
Professional Drawbacks:
- Higher upfront cost
- Extra design fees for custom changes
Homeowners with simple sites and good drainage can manage small gardens. Projects tied to city mandates call for a licensed contractor or civil engineer.
How to Build a Rain Garden
- Assess the Site. Locate runoff from roofs, driveways, or patios. Keep the garden at least ten feet from the foundation.
- Test the Soil. Fill a hole with water and time the drainage. Sandy or loamy soil performs best.
- Design the Basin. Create a gentle slope that allows temporary pooling. Make the center the deepest point.
- Excavate and Amend Soil. Remove turf and dig to the planned depth. Blend compost or sand into the native soil.
- Install Overflow and Edging. Add an outlet for heavy storms. Reinforce the edge with rock or timber.
- Plant Selection and Placement. Group plants by water tolerance. Put moisture loving species in the center.
- Mulch and Water. Apply mulch to retain moisture and suppress weeds. Water regularly during the first season.
Tips for Rain Garden Success
- Select native plants that endure both wet and dry conditions.
- Check drainage after storms to confirm water clears within one or two days.
- Skip fertilizers that could enter the basin.
- Weed regularly during the first year.
- Place decorative stones near downspouts to slow flow and limit erosion.
Frequently Asked Questions
Why are cities requiring rain gardens?
Cities adopt these rules to manage stormwater naturally, reduce flooding, and improve water quality.
Do I need a permit to install a rain garden?
Small residential gardens usually do not require permits. Larger or engineered systems connected to building projects often need approval.
How much maintenance does a rain garden require?
Once established, maintenance stays light. Expect occasional weeding, trimming, and mulch replacement.
Can a rain garden attract mosquitoes?
Proper design drains water within a day or two. Without standing water, mosquitoes cannot breed.
What size should my rain garden be?
Size the garden to capture runoff from the connected impervious area. Ten to twenty percent of the roof or driveway area is a common target.
Can a rain garden help with basement flooding?
Correct placement intercepts water before it reaches the foundation and reduces accumulation.
Planning Your Installation
New regulations turn rain gardens into required landscape elements. Early action secures compliance and delivers a durable, attractive yard that manages water effectively.